
Outdoor LEGO Photography: Shooting Toy Sets in Natural Light
Our indoor toy photography stage covers most of the craft — but not the outdoors. Here's what changed when we took LEGO sets into real forests and onto real sand.
This post contains affiliate links. We may earn a commission if you make a purchase, at no extra cost to you. As an Amazon Associate, Dadnology earns from qualifying purchases.
1. Introduction: We Said We’d Try This Outdoors
📷 This guide is part of our Nikon Brand Hub — every Nikon Z body and lens we’ve tested, from wildlife glass to landscape and family photography kits.
When we wrote up our indoor toy photography studio setup — the black slag stage, the cross-lighting rig, the fog machine hiding inside the diorama — we ended on an honest admission: every shot in that guide was taken indoors, where there’s no wind to scatter the haze, and the outdoors was next on our list. This is that follow-up, and it changes more of the craft than we expected.
The premise of outdoor toy photography is the same as indoor: convince a camera that plastic is real. The execution is almost completely different. Indoors, we control everything — light direction, intensity, color, even the weather. Outdoors, we control almost nothing, and that’s the entire appeal. Golden hour does more work in ten free minutes than our whole gridded LED rig does in an hour of setup, and it does it for free. The trade is real light for a shrinking window and a much longer list of things that can go wrong.
AdThe Go-Anywhere Body (opens in a new tab)
Light enough to carry on a hike, weather-sealed enough not to worry about, and not precious enough to set down on sand or wet grass without hesitating.

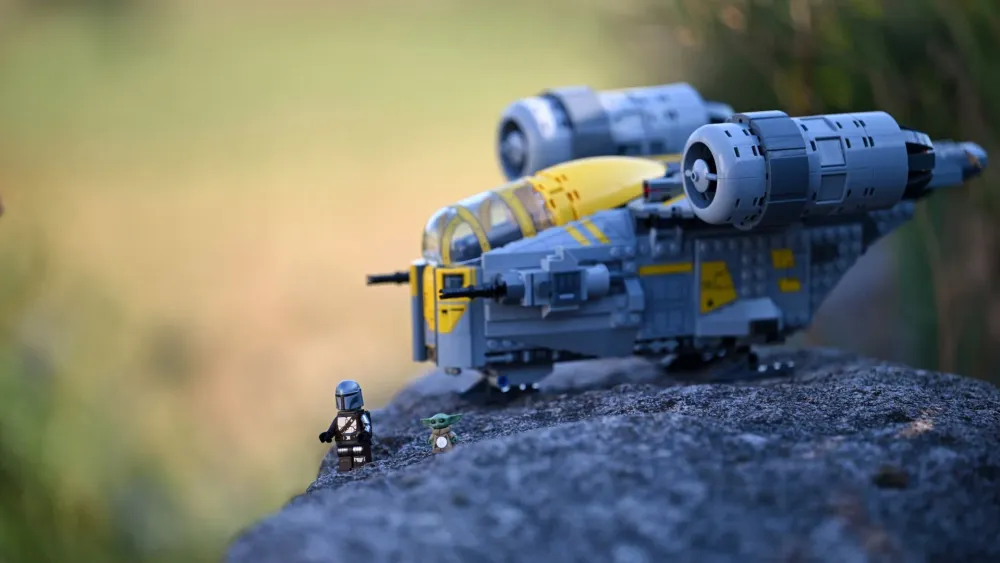
This isn’t a rebuild of the studio guide — it’s everything that’s genuinely different once you step outside, tested on our own shelf: a LEGO Great Deku Tree in an actual forest, and a Razor Crest on real sand dunes.
2. Indoor Control vs. Outdoor Light: What Actually Changes
| Element | Indoor Studio | Outdoor Natural Light |
|---|---|---|
| Light source | Two gridded LEDs, fully controlled | The sun — free, but on its own schedule |
| Shooting window | Any time, repeatable | Golden hour, roughly 45-60 minutes |
| Weather dependency | None | Total — wind, clouds, rain all matter |
| Light shaping | Grids, softboxes, cross-lighting | One reflector, held or clamped |
| Biggest risk | A messy stage | A lost minifigure accessory in the grass |
| Result at its best | A movie still, on demand | A shot you genuinely could not have lit yourself |
Neither column is the “correct” way to do this. The studio setup is what makes our review photography reliable on a schedule; the outdoor approach is what makes a shelf set look like it belongs in the world it was designed to represent.
3. Golden Hour: The Only Light That Matters Outdoors
Indoors, we spend an entire section of the studio guide explaining cross-lighting geometry so two artificial sources behave like one coherent light. Outdoors, there’s exactly one light source, and the whole game is timing.
Golden hour — the hour after sunrise and the hour before sunset — is the outdoor toy photographer’s entire toolkit. The sun sits low, so light rakes across a set horizontally instead of blasting down from directly overhead, which is what creates the long, dramatic shadows and warm color temperature that read as “cinematic” rather than “toy on a lawn at noon.” Midday sun is the opposite of everything we want: high in the sky, harsh, high-contrast, and it casts short, unflattering shadows straight down onto a minifigure’s face.
Overcast days are the secret second-best option, and they’re genuinely underrated. Cloud cover works like a giant, free softbox — soft, even light with no harsh shadow edges, and unlike golden hour, it lasts for hours instead of one. If your schedule genuinely can’t accommodate a sunrise or sunset shoot, a bright overcast afternoon is a completely legitimate substitute.
4. Choosing Your Location: Scale Tricks in the Real World
Location does the job that our indoor slag stage and aquarium rocks do — it reads as terrain — except now it’s real terrain, at real scale, which is both the appeal and the challenge.
Match the location to the set’s actual world. A forest floor with real moss and tree roots is the obvious pairing for something like the LEGO Great Deku Tree — real bark, real dappled light, and a minifigure standing at the base of an actual tree trunk does more scale work than any prop we own. Sand dunes or a rocky, sparse landscape work the same way for anything with a desert-world aesthetic, like the Razor Crest — a real horizon line and real sand texture sell “distant planet” in a way no studio backdrop can match.
Get down to minifigure eye level, every time. This is the single biggest scale trick in the entire discipline, indoors or out, and it’s free. Shooting down at a set from standing height instantly reveals the true scale; getting the camera down to a few centimeters off the ground puts the viewer inside the scene instead of looking at a toy.
Watch for modern clutter in frame. A parking lot line, a plastic bottle cap, another hiker’s sneaker print — anything that reads as “2026” breaks the illusion instantly. Scout the frame edges as carefully as the center.
5. Gear That’s Different Outdoors
The entire studio lighting rig — two gridded LEDs, softboxes, an RGB accent tube — stays home. None of it replaces the sun, and carrying it defeats the point of shooting outside at all. What replaces it is smaller and lighter:
A collapsible 5-in-1 reflector is the single most useful piece of gear on this list. Its silver or white side bounces sunlight back into shadows the same way our indoor fill light does; its diffusion panel softens harsh midday sun into something workable when golden hour genuinely isn’t an option. It folds down to nothing and does the job of half our studio rig.
AdThe Studio Replacement (opens in a new tab)
No power, no stands, no setup time — a reflector does outdoors what two gridded LEDs do indoors, and it fits in a jacket pocket.
A small pocket RGB LED panel (ours is a Ulanzi VL120) earns its keep in the last few minutes after golden hour actually ends, when natural light has dropped below usable but you’re not ready to stop shooting. It’s not trying to overpower the sun — just extend the window by ten honest minutes.
Two unglamorous items matter more than either light: a rocket air blower, because sand and grit find their way into LEGO studs within about ninety seconds of setting a model down outdoors, and a tent-footprint ground sheet, which keeps a set off actually-wet grass and stops small pieces from vanishing into loose sand the second you look away.
6. Reach and Compression: When 180-600mm Beats a Kit Lens
Indoors, our studio guide is explicit that a macro lens is unnecessary — LEGO is bigger than true macro subjects, and a standard zoom’s close-focus distance covers almost everything. Outdoors, the opposite problem shows up: distance, not closeness.
The trick that sells scale outdoors better than anything else is putting real distance between the camera and the set, then using a long lens to compress it back into frame. A 180-600mm telephoto lets a minifigure standing on a real rock thirty metres away read as a giant standing on a cliff edge, because telephoto compression flattens the perspective cues that would otherwise scream “this is four centimeters tall.” It’s the same “looks real” principle our 70-200mm handles on the indoor stage, just taken further — and it’s genuinely an outdoor-only tool; we’ve never once reached for it inside.
AdThe Distance Lens (opens in a new tab)
Extreme compression from far enough away that you're not casting a shadow onto your own set — the tool that makes a tabletop scene read as a real landscape.
7. Two Field Tests: The Deku Tree in a Forest, the Razor Crest on a Dune
The Great Deku Tree, forest floor, first light. We set the model against real tree roots twenty minutes after sunrise, with mist still sitting low between the trunks — free atmosphere our indoor fog machine spends an entire session trying to replicate. A single reflector bounced light back into the model’s shadowed side; everything else was the forest doing the work. The result looks less like a photographed toy and more like a nature photograph that happens to have a very small door in it.
The Razor Crest, sand dunes, last light. Harder shoot. Wind kept disturbing the fine sand texture around the model between takes — the outdoor equivalent of our indoor slag shifting under a footstep, except we couldn’t just sweep it flat again mid-session. The 180-600mm from thirty metres away, low against the dune line, is what actually sold the shot: a real horizon, real sand grain, and enough compression that the ship reads as full-scale against genuine distance.
Neither shoot took more than the one golden-hour window. That’s the real lesson: outdoor toy photography rewards showing up with a plan more than it rewards gear.
8. Editing: What Actually Changes in Post
Indoors, most of our editing time goes into pulling detail back out of deliberately dark shadows on a black stage. Outdoor golden hour shots need almost the opposite treatment.
Color temperature needs less correction, not more. Golden hour light is already warm and consistent across the whole frame, so resist the urge to push white balance further — oversaturating a naturally warm shot is the fastest way to make it look artificial instead of cinematic. A light touch on contrast and clarity usually does more than a heavy color grade.
ISO stays low, which means less noise reduction than an indoor shot. Bright, direct golden-hour light lets you shoot at your camera’s base ISO even handheld, so files come out cleaner than our fog-and-shadow indoor stage ever produces. Spend that saved editing time elsewhere.
Spot-check for real-world dust and debris the indoor stage never has. A stray blade of grass across a minifigure’s face, a speck of sand caught in a joint, a leaf that drifted into frame mid-shot — these are the outdoor equivalent of a fingerprint on the indoor backdrop, and they’re easy to miss at thumbnail size. Zoom to 100% on the subject before calling a shot final.
Decide deliberately what stays and what goes. A little environmental “mess” — real dust, a slightly uneven sand texture, an out-of-focus leaf in the foreground — usually sells authenticity better than a perfectly clean frame. Remove genuine distractions (that sneaker print, a parking lot line) but don’t over-clean the texture that made the location worth choosing in the first place.
9. Practical Problems Nobody Warns You About
Wind is the outdoor equivalent of a messy indoor stage — except you can’t fix it by sweeping. Fine ground texture (sand, loose dirt) shifts and scatters between shots in ways our indoor slag never does. Shoot on a calmer day when possible, or lean into the movement as texture rather than fighting it.
Real wildlife doesn’t respect a photo shoot. A curious dog, a bird landing on the model, ants finding a “food source” that’s actually a plastic picnic basket — build in patience, and never leave a set unattended outdoors for even a minute.
Small pieces vanish permanently outdoors in a way they never do on a living-room floor. Grass and sand both swallow a stray 1x1 tile or a minifigure accessory instantly. Do a full piece check before packing up, every time, not just when something looks obviously missing.
Light changes fast, and you don’t get a second golden hour that day. Have the shot composed and the settings roughed in before the light actually peaks — the ten minutes of best light go quickly, and there’s no reshoot until tomorrow.
10. Getting Started This Weekend
Minimum viable setup (this weekend, free): your phone, any LEGO set you already own, and a calendar check for tomorrow’s sunset time. Walk to a nearby park or your own backyard thirty minutes before sunset and shoot at ground level. That alone covers most of what makes an outdoor shot work.
Recommended dad setup: whatever camera you already own, a folding reflector, and fifteen minutes of location scouting the day before — texture and a sense of “somewhere real” matter more than gear here.
The full outdoor kit: everything in this guide — the reflector, a battery panel for the last few minutes of light, the long lens for distance shots, and the blower and ground sheet to keep the set (and the pieces) intact.
Pros
- Free, spectacular light that no studio rig fully replicates — golden hour does the heavy lifting
- Real textures (moss, sand, bark, water) sell scale better than any prop we own indoors
- The gear list is smaller and cheaper than the indoor rig — a reflector beats two studio lights
- A genuinely different look from the indoor stage, so the two techniques complement rather than compete
Cons
- A narrow shooting window — miss golden hour and you're waiting until tomorrow
- Zero control over weather, wind, or wildlife, unlike a repeatable indoor session
- Real risk of losing small pieces in grass or sand — budget time for a full piece check
Conclusion: The Follow-Up Was Worth the Wait
Outdoor toy photography isn’t a replacement for the indoor studio setup — it’s the other half of the discipline. Indoors gives us total control on any schedule; outdoors gives us light we could never build ourselves, for a window that closes whether we’re ready or not. Between a forest floor and a sand dune, both field tests confirmed the same thing: the gear matters less out here than showing up with a plan and getting the camera down to minifigure eye level.
The Final Word: if you already own any camera and any LEGO set, you’re one sunset and one folding reflector away from a shot our indoor rig genuinely cannot produce.
Do I need special camera gear for outdoor LEGO photography?
What is the best time of day for outdoor toy photography?
How do I make a LEGO set look bigger outdoors?
How do you protect a LEGO set while shooting outdoors?
Can I do outdoor toy photography with just a phone?
Is outdoor toy photography better than a studio setup?
Keep this in your inbox
One email a week: what we actually watched, built and reviewed — the stuff worth a dad's time. No hype, no daily spam.
Dadnology Weekly
One email a week: the LEGO, gaming and movie news worth a dad's time — plus what we actually reviewed. No hype, no daily spam.
Disclaimer: This review and its visuals were created with the help of AI. Some links may be affiliate links – we may earn a commission if you make a purchase, at no extra cost to you.
You might also like
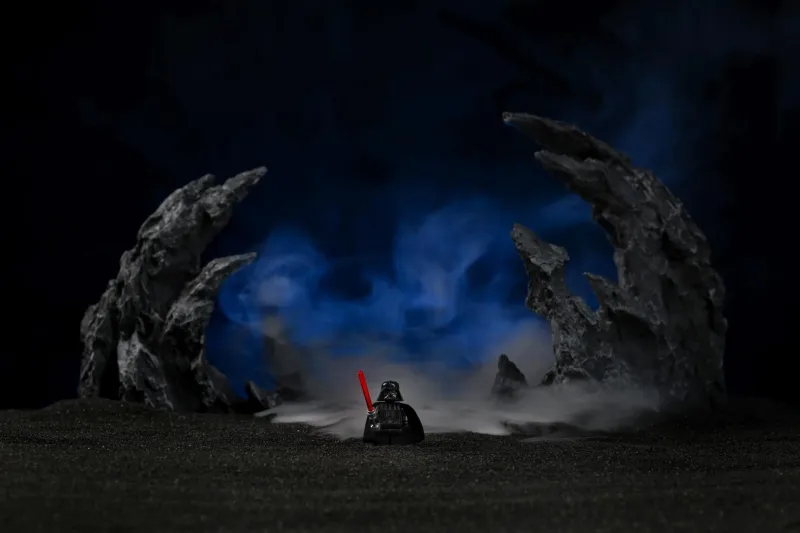
Toy Photography Setup: How We Shoot LEGO Sets Like Movie Stills
After reading this guide you will be able to build a tabletop toy photography stage at home, light it so the background disappears, add fog and colored accents for mood, and choose the right lens for the 'looks real' shot — whether you own a full-frame kit or a smartphone.
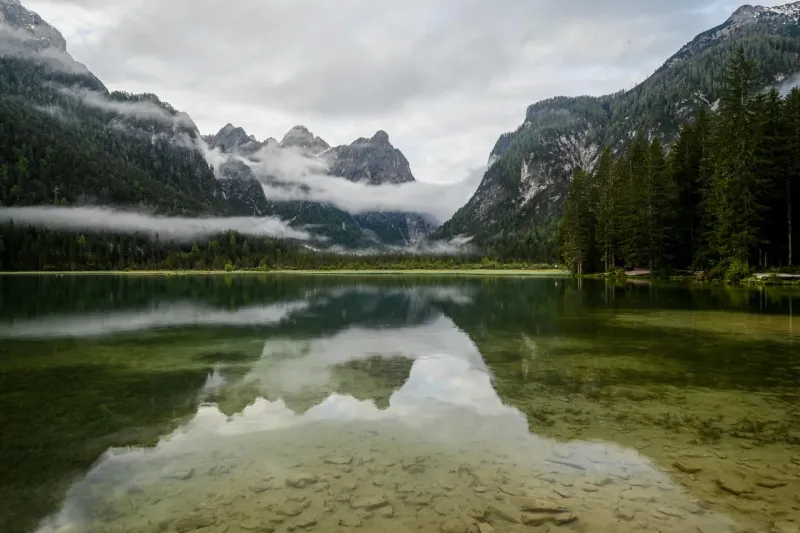
Filter Holder System vs Screw-In Filters: Why I Carry Both
Why a landscape photographer carries a 100mm holder kit AND a screw-in polarizer — what each is actually for, and when each one wins.

Best Tech for Dads – The Gear That Survives Family Life
Our living list of the tech that earns its place in a family household: iPhone and AirPods Pro 3 as the daily spine, Mac mini or MacBook Pro for the work side, Switch 2 and PS5 for the living room, Echo Show and Home Assistant for the smart home, and a LEGO build plus a Nikon camera system for the hobby shelf. Every entry links to a full hands-on review.