
Toy photography setup: How we shoot LEGO sets like movie stills
The complete Dadnology toy photography setup: how we stage, light, and shoot LEGO sets at home — from the black slag stage to cross-lighting to fog.
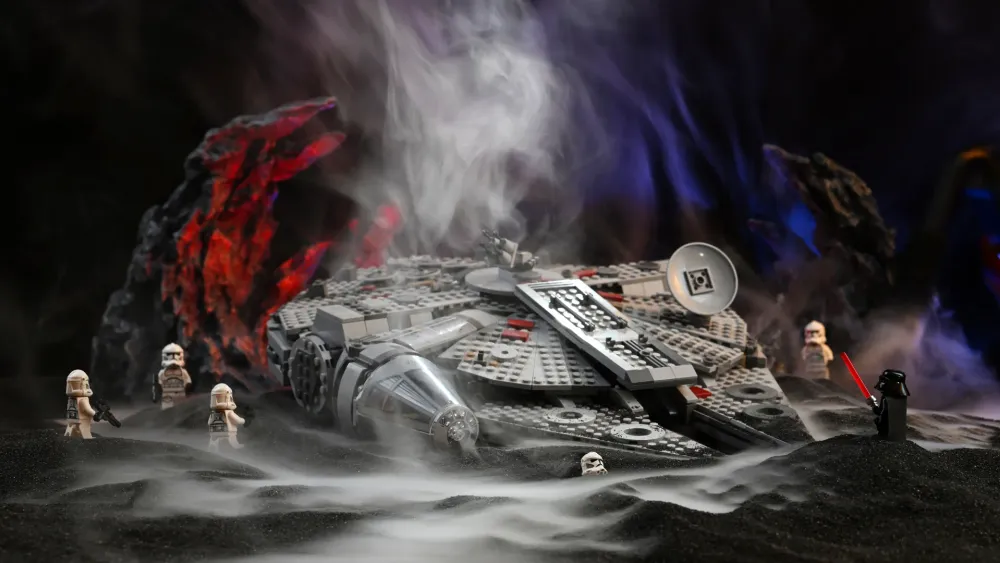
This post contains affiliate links. We may earn a commission if you make a purchase, at no extra cost to you. As an Amazon Associate, Dadnology earns from qualifying purchases.
1. Introduction: The product shot is dead — Long live the movie still
It started, as most expensive hobbies do, with a completely reasonable task. I needed hero images for our LEGO reviews — clean, well-lit photos of sets on a table. Somewhere between the third softbox adjustment and the first time I knelt down to shoot a minifigure at its eye level instead of mine, something clicked. The photo stopped being a picture of a toy. It became a picture of a scene the toy lives in.
That’s the entire discipline of toy photography in one sentence, and it turns out there’s a whole world of people doing it — a genuinely welcoming community of photographers who spend their evenings convincing cameras that plastic is real. I fell in hard. This guide is the complete Dadnology studio setup, explained piece by piece: the stage, the light, the fog, the glass. Not as a shopping list — as a system you can copy at any budget, because every single technique in here scales down to a desk lamp and a phone.
The old way was the product shot: white background, even light, no shadows, no story. The new way is the movie still: darkness, texture, atmosphere, and a 4cm-tall clone trooper who looks like he’s about to have a very bad day on Endor.
2. What exactly is toy photography?
At its core, toy photography is scale illusion photography: using perspective, light, and texture to make a small object read as a full-sized one — or at least as something with weight, mood, and a story. It sits somewhere between product photography (the control), landscape photography (the composition), and filmmaking (the drama).
LEGO is arguably the perfect subject for it. Minifigures have expressive faces and poseable bodies. Sets are designed by professionals to look good from photographic angles. And the subjects are already sitting in your living room — probably underfoot, if your house is anything like ours.
Product shot vs. Toy photograph
The fastest way to understand the discipline is to see what it isn’t:
| Element | Lightbox Product Shot | Cinematic Toy Photography |
|---|---|---|
| Goal | Show the product accurately | Tell a story the product stars in |
| Background | Seamless white, close behind | Dark and textured, 2m behind the set |
| Light | Flat and even, no shadows | Directional cross-light, shadows kept alive |
| Ground | Acrylic sheet or paper sweep | Slag, sand, rocks — real texture at mini scale |
| Atmosphere | None | Fog, haze, colored accent light |
| Result | A catalog image | A movie still |
Both have their place — our reviews still need clean shots of the box contents. But the photos that made me fall for this hobby all live in the right-hand column.
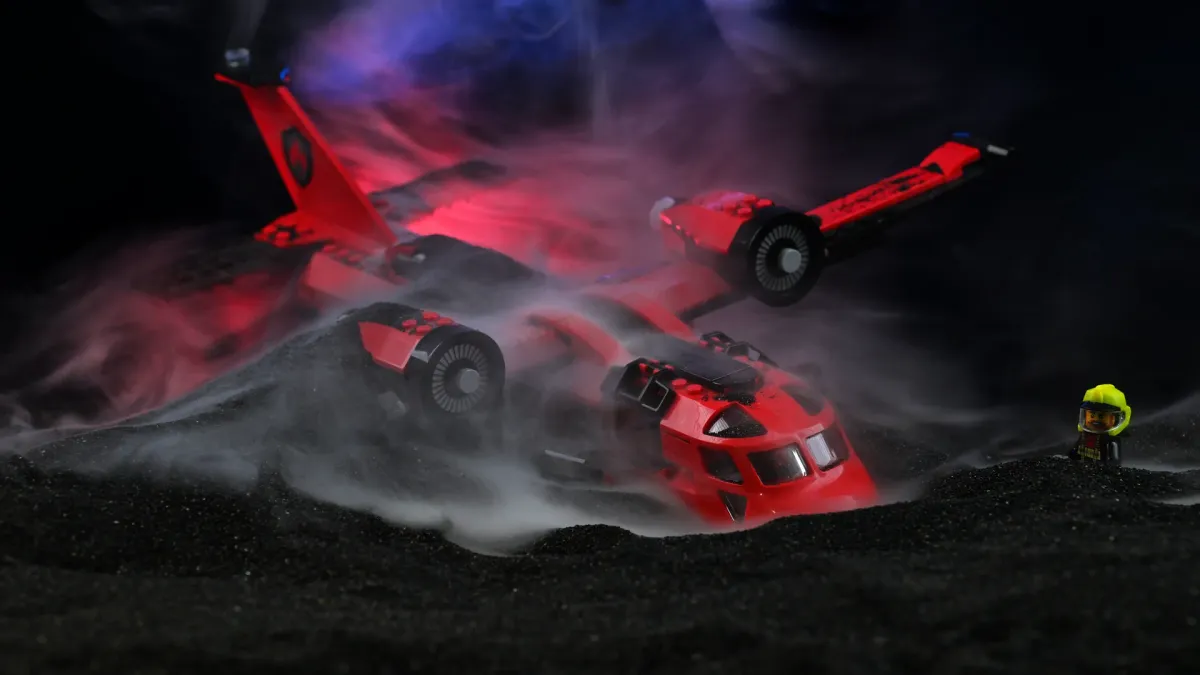
3. The stage: One MDF board, 25 kilos of slag, and aquarium rocks
Our stage is deliberately unglamorous: a 1m x 1.4m MDF board with 1x1cm wooden strips glued around the edges — a picture frame lying flat, essentially, whose only job is to stop the ground material from migrating onto the floor. Learn from our vacuum cleaner’s suffering: build the edge first.
On the board sits a matte black plastic sheet as a base cover, and on top of that the actual ground: black melting-chamber slag — a fine, dark, granular blasting material. It sounds industrial because it is, and that’s exactly why it works. At minifigure scale it reads as volcanic soil, asphalt, alien regolith, or scorched battlefield, it’s completely matte, and it holds footprints and skid marks like real terrain. A 25kg bag costs less than a single minifigure-scale resin diorama kit and will outlast your enthusiasm.
For larger formations we use the trick I’m most smugly proud of: aquarium landscaping rocks. Aquascaping decor is designed to imitate weathered, realistic stone in miniature — which is precisely the brief for LEGO-scale terrain. Generic craft-store rocks look like painted foam next to them. Our “Soul Valley” resin set combines two large pieces into up to 50cm of canyon wall, and minifigures standing in front of it genuinely look like they’re about to climb it.
The backdrop — a washed, black concrete-look surface — stands about two metres behind the stage. That distance is not laziness; it’s the trick. Light falls off fast, so a backdrop two metres behind a cross-lit scene stays dark and softly textured instead of flat and grey. The background does its best work by barely being visible.
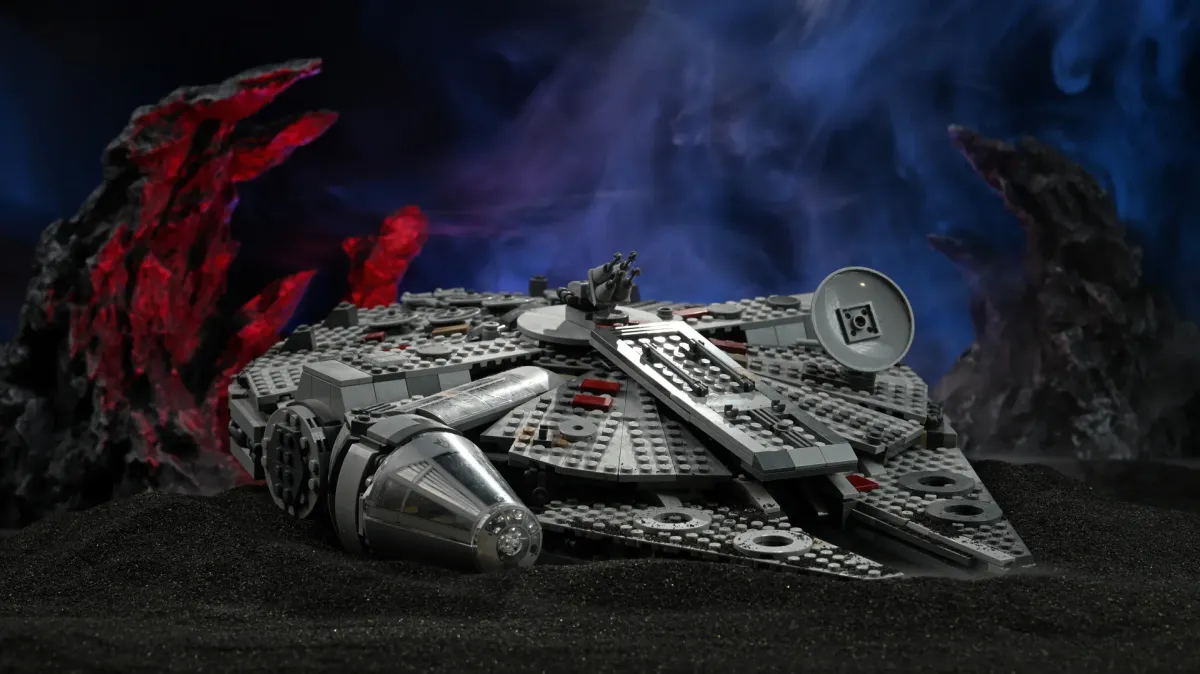
4. Light: Cross-lighting does the heavy lifting
If you copy one thing from this guide, copy the lighting geometry.
Our rig is a Godox SL60IID as the key and a NEEWER CB60B 70W bi-color LED as the fill, both Bowens-mount continuous lights. The asymmetry is the point: if both lights ran at equal power, the shadows would cancel each other out and the set would look as flat as a catalog page. Set the fill two or three stops below the key and the bricks suddenly have edges, depth, and drama.
The light shapers matter as much as the lights. Both of ours wear striplight softboxes with honeycomb grids — we shoot a 60x90cm and a 30x120cm strip (ours are Walimex; the Godox 60x90cm and 30x120cm strip equivalents are the same sizes with the same Bowens mount, and easier to find internationally). The strip shape gives long, elegant highlights along hulls and armor, and the grid is the unsung hero of the whole setup: it narrows the beam so light lands on the set and only the set. Grids are the reason the backdrop stays dark at two metres.
The third light never touches the subject at all: a full-color RGB tube light lives behind the set as an accent, usually glowing blue for a cold, mystical base mood. Blue haze behind a warm-lit scene is the cheapest cinematography lesson you will ever buy. Swap it to orange for a Mustafar vibe, green for something swampy and Dagobah-adjacent — one wand, every planet.
Why continuous light and not flash? Because you see exactly what you’re getting, live, while you nudge a minifigure’s arm two degrees. For a discipline that’s 90% staging, that feedback loop beats raw strobe power — and the same lights double as video lighting for behind-the-scenes footage. The honest trade-off: continuous LEDs are far less powerful than strobes, so you’ll be on a tripod at longer shutter speeds. For static plastic subjects, that costs you nothing.
The scale upgrade: Pinpoint 3-point lighting with the SmallRig RM01
While our Bowens-mount lights do the broad heavy lifting, we recently added the SmallRig RM01 Mini LED Kit (3-Pack) — and it has been a genuine revelation.
A 60x90cm softbox is massive compared to a 4cm plastic hero. When you want to throw a tight spotlight on a single minifigure’s Master Sword, create soft fill across a tree trunk, or tuck a top-down rim light into the branches to catch god-rays, big studio panels throw light everywhere. The RM01 kit gives us three palm-sized, waterproof LED cubes with magnetic snoots, honeycombs, and silicone diffusers. We put all three through their paces on our LEGO Zelda Great Deku Tree shoot — see our full SmallRig RM01 review for the complete breakdown.
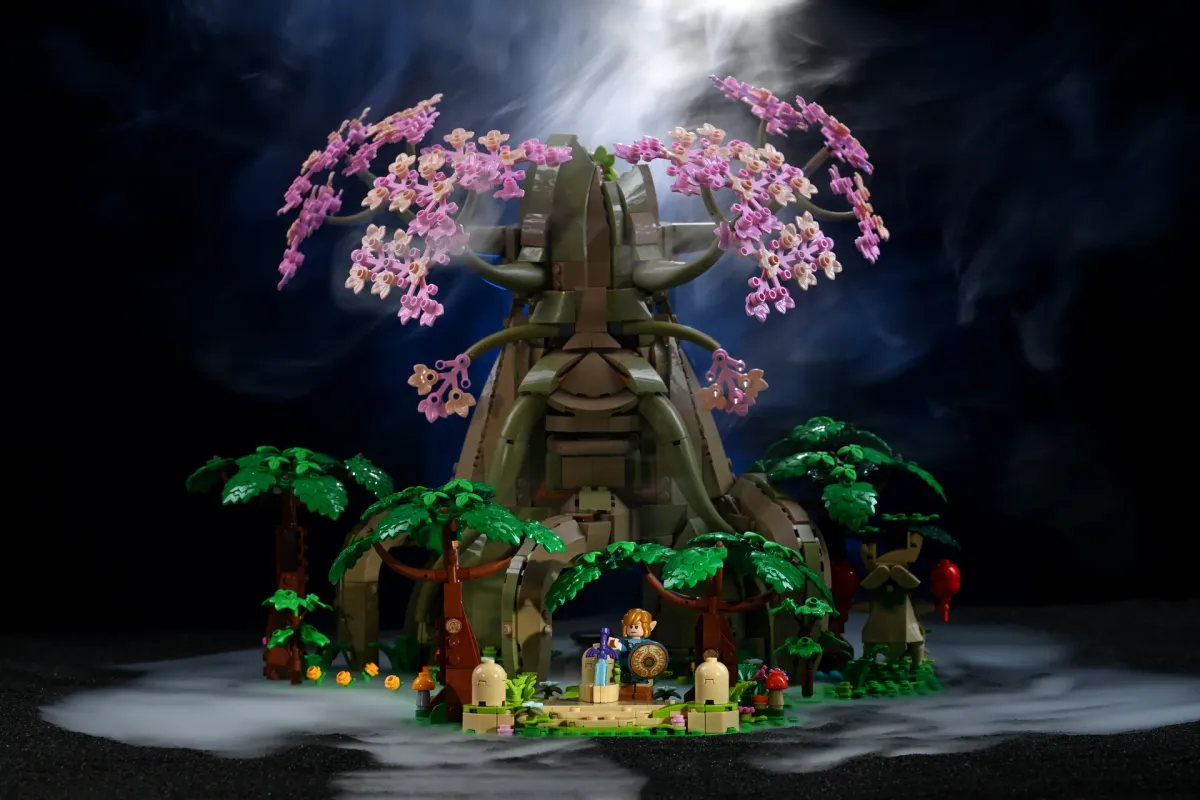
5. Atmosphere: Fog, haze, and the dry ice trick
Here’s the upgrade that gets the “wait, how did you do that?” comments: fog. Haze turns light from something that illuminates the scene into something you can see in the scene — godrays through a canyon, a glowing silhouette behind a Sith Lord, engine mist around a landing ship. One small handheld unit does almost all of this work for us now: the PMI SmokeNINJA. It hides inside the diorama, fires by remote without us ever touching the set mid-composition, and — this took us a while to fully exploit — it does two genuinely different jobs from the same body. We’ve since written a full standalone review covering weeks of use in detail; here’s the short version for this setup.
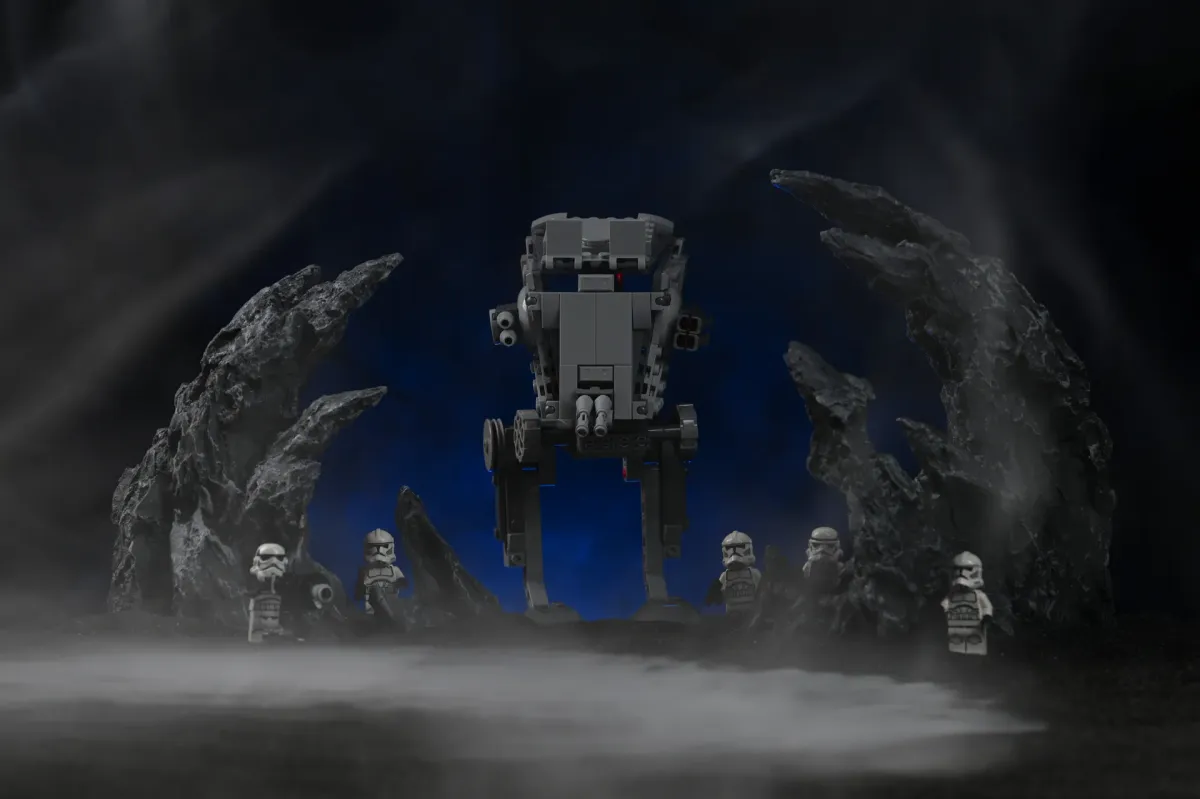
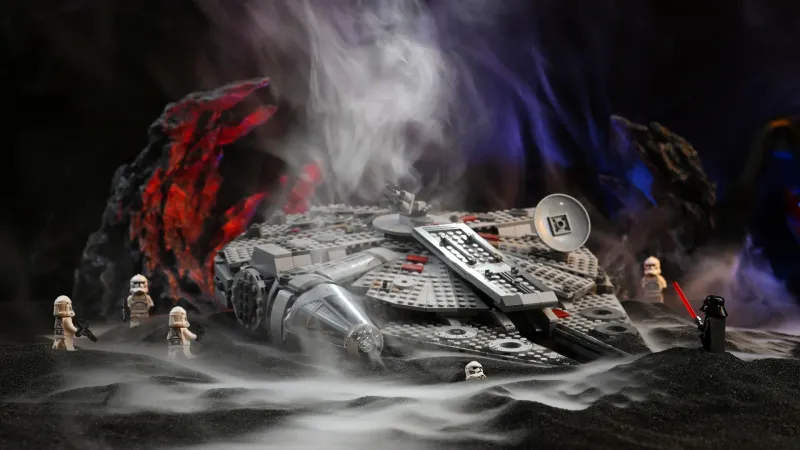
Dry Ice mode is the one we actually reach for on almost every shoot. Despite the name, there’s no frozen CO2 involved — it runs the same fluid through a dedicated nozzle that lays the output down low instead of releasing it upward, and the result pools and spreads across the black slag exactly like real theatrical dry ice fog. It climbs the aquarium rocks on its own, thins unevenly, and visibly reacts if you nudge a minifigure’s cape mid-shot. This is the effect behind most of the “how is that a toy” comments we get.
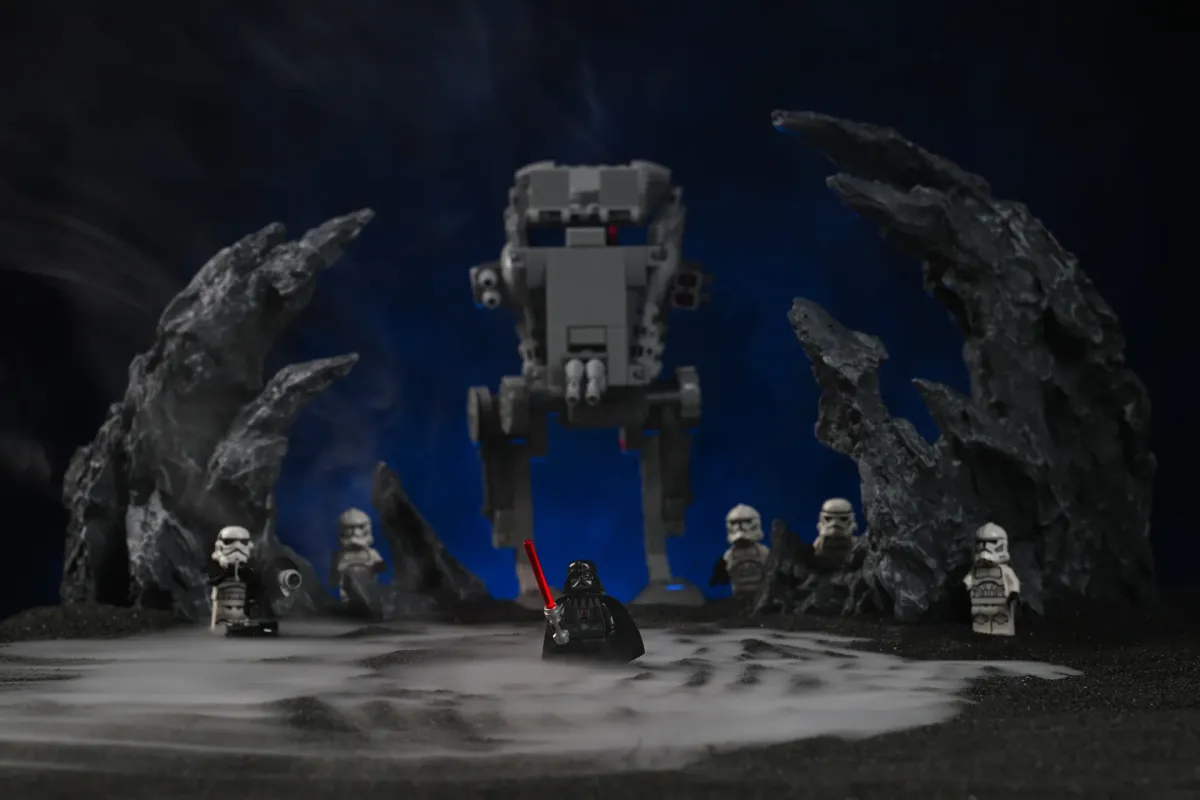
Haze mode is the one for backgrounds. Released upward instead of pooled on the ground, it’s what makes our blue RGB tube light actually visible instead of just illuminating a flat wall two metres back — fog only exists on camera when there’s light behind it, and haze plus that blue accent is the combination that turns an empty backdrop into something that reads as a film frame.
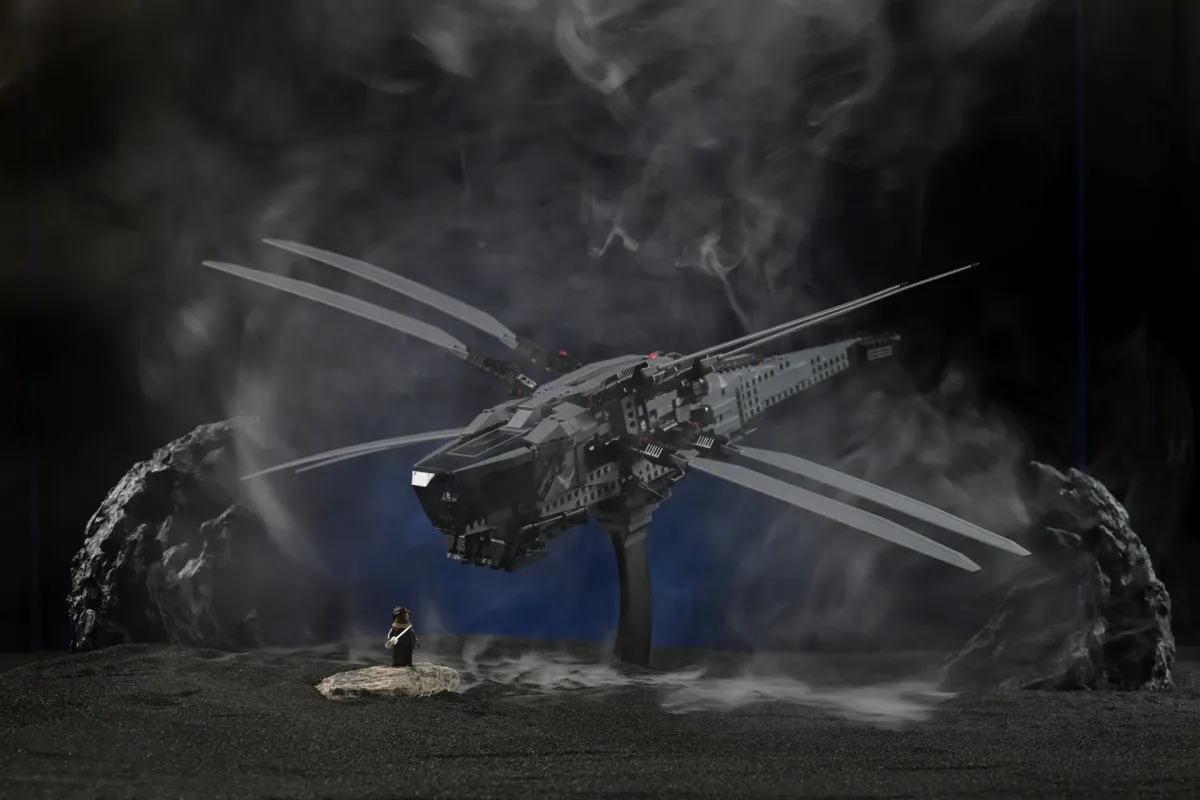
The one honest caveat: dry ice mode leaves a faint, slightly tacky residue wherever it lands, so budget thirty seconds to wipe down bricks and minifigure faces before a set goes back in a display case. PMI also sells a pricier SmokeNINJA PRO Hazer Kit with Bluetooth pairing and 1,000 sq ft of coverage — genuinely useful for events and studio video, but overkill for a metre-wide tabletop stage. Our full review breaks down exactly why the standard kit is the one to buy here. For continuous, unattended ground fog during a longer video take, an ultrasonic mist maker in a hidden water basin is still worth owning — but for triggered, per-shot dry ice pooling, the SmokeNINJA’s own Dry Ice mode is what we reach for on nearly every session now.
One thing we hadn’t tested when we first wrote this: the outdoors. Every fog shot on this page was taken on our indoor stage, where there’s no breeze to scatter the haze — a real constraint we’ve since worked around rather than fought. Our outdoor LEGO photography guide covers what changes when you swap the controlled indoor stage for real sunlight and wind.
6. Camera, lenses & why a geared head changes everything
Let’s get the honest part out of the way first: you do not need our camera gear to do this. Toy photography is static, controlled, tripod-based work — the discipline where camera specs matter least. We shoot what we already own for wildlife and family work, and that’s the only reason the list looks like this.
The Nikon Z8 is the stills camera. Its 45.7MP give brutal cropping headroom, and its files hold up when you’re lifting shadow detail out of a deliberately dark stage. The Z50 II (our full review here) has found a brilliant second job as the B-cam: parked on its own tripod with a fixed wide framing, it records video of the entire shoot while I work the hero shots on the Z8. Every session automatically produces behind-the-scenes footage for Shorts and Reels — zero extra effort, pure content.
The lens choice is where the look gets decided:
- 14-30mm f/4: the drama lens. Get low and close and an AT-ST towers over the camera like it’s forty metres tall. Wide angle exaggerates scale — in our favour.
- 24-70mm f/2.8: the workhorse for scene-building and set overviews.
- 70-200mm f/2.8: the “looks real” lens. Telephoto compression flattens the perspective cues that scream “miniature”, and at close-focus distance a minifigure fills a satisfying amount of frame. Most of our favourite hero shots come from this lens.
- 180-600mm: the special. Extreme compression and razor-thin subject isolation — plus it’s the natural choice outdoors, when a minifigure stands on a real rock thirty metres away and needs to look like a giant.
And no, there’s no macro lens in that list — on purpose. LEGO is bigger than true macro territory; the close-focus distances of ordinary zooms cover almost everything, and we’d rather tell you that than sell you a lens you don’t need.
The unsung hero of the whole camera section is the support. A solid tripod — ours is a Novoflex with a ball head; the Leofoto LS-324CX kit is the internationally available equivalent we’d buy today — keeps long continuous-light exposures sharp. But for tabletop composition specifically, a geared head is the real revelation: instead of unlocking a ball and praying, you dial each axis a millimetre at a time. When your subject is 4cm tall, a millimetre is a reframe.
7. Getting started: Three tiers, one weekend
You can enter this hobby at whatever altitude your budget flies at:
Minimum viable setup (this weekend, ~€0): a table, a dark bedsheet two metres behind it, a baking tray of sand or soil, one desk lamp from the side, and your phone at minifigure eye level. That’s genuinely enough to learn 80% of the craft.
Recommended dad setup: one Bowens-mount 60-70W LED with a gridded softbox, a second cheap light or reflector for fill, an RGB wand for the background, a board with edge strips and a bag of fine dark granulate, and whatever camera you own on a tripod. This is most of our look for a fraction of our cost.
The full rig: everything in this article — two gridded striplights, the RGB accent, the SmokeNINJA, aquarium-rock terrain, and a geared head. This is the version that also produces our review photography and B-roll.
Your next steps, in order:
- Build the stage first. Board, edges, ground material. Texture is the cheapest realism you can buy.
- Learn cross-lighting with what you have. Two unequal lights at 90 degrees — even two desk lamps teach the principle.
- Shoot at subject eye level. The single biggest beginner upgrade costs nothing: get the camera down to the minifigure’s horizon.
- Pick a set with a story. We’re starting with our own shelf: the Razor Crest, the Great Deku Tree, the LEGO Millennium Falcon (75257), and the LEGO City Fire Rescue Plane (60413) all earned the full fog-and-lighting treatment.
Realistic timeline: the stage is a one-afternoon build, and your first “wait, I took that?” frame happens the same evening. This hobby front-loads its rewards shamelessly.
Pros
- See-what-you-get lighting: continuous LEDs give live feedback while you stage, and double as video light for behind-the-scenes content
- Scales to any budget — every technique here works with a desk lamp, a bedsheet, and a phone
- The perfect after-bedtime dad hobby: fully indoors, fully controlled, uses toys the household already owns
- One shoot feeds everything: hero stills, review photography, and B-roll from the locked-off B-cam
Cons
- Continuous LEDs are far weaker than strobes — a tripod and longer exposures are effectively mandatory
- The stage claims real estate: a 1m x 1.4m board plus a backdrop two metres behind it is a corner of a room, permanently
- Granulate ground material and fog machines mean occasional mess and a room you'll want to air out
Conclusion: The hobby hiding inside two other hobbies
Toy photography is what happens when a LEGO shelf and a camera bag finally start talking to each other. The barrier to entry is a desk lamp; the ceiling is as high as your patience for nudging a minifigure’s wrist at midnight. Our setup — slag stage, gridded cross-lighting, blue haze, geared head — is one answer, not the answer, and every part of it started as a cheaper improvisation that earned its upgrade.
For the typical Dadnology reader the math is friendly: you likely own the camera, you definitely own the toys, and the lighting that unlocks the cinematic look costs less than a single UCS set. Start with the free tier this weekend and let the results decide how deep you go.
The Final Word: If you own LEGO and any camera at all, you are one desk lamp and one baking tray of sand away from this hobby — and it is absurdly fun.
Buy now(Ad)
What do I need to start toy photography?
What is the best camera for toy photography?
Do I need a macro lens for LEGO photography?
What should I use as a ground or base for LEGO photography?
How do you create fog effects in toy photography?
Do you need the PMI SmokeNINJA PRO Hazer Kit for LEGO photography?
Keep this in your inbox
One email a week: what we actually watched, built and reviewed — the stuff worth a dad's time. No hype, no daily spam.
Dadnology Weekly
One email a week: the LEGO, gaming and movie news worth a dad's time — plus what we actually reviewed. No hype, no daily spam.
Disclaimer: This review and its visuals were created with the help of AI. Some links may be affiliate links – we may earn a commission if you make a purchase, at no extra cost to you.
Current deals in Cameras
Verified live discounts tracked on Amazon

Cameras · Tested by Dadnology
Nikon Z50 Body
5/5“An honest look back at the DX body that started my Z journey.”Read our reviewPrice as of Oct 21, 09:11 PM UTC

Cameras · Tested by Dadnology
Nikon NIKKOR Z 40mm f/2
5/5“Tiny, cheap, brilliant. The grab-and-go prime.”Read our review
Cameras · Tested by Dadnology
Nikon Z5 Body
5/5“The unbeatable on-ramp to full-frame mirrorless.”Read our reviewPrice as of Oct 21, 09:11 PM UTC
You might also like
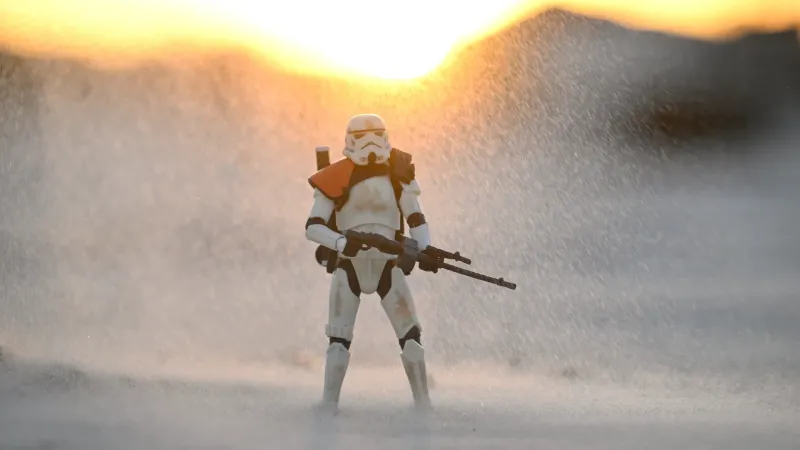
Beach toy photography: How to shoot action figures and LEGO in the sand
The beach is the ultimate outdoor studio for toy photography if you respect the elements. Low ground-level angles turn sand ripples into mountain ranges, golden hour softens harsh plastic reflections, and a helping hand creates breathtaking in-camera dust storms.
LEGO Millennium Falcon (75257) review: The dad's Falcon
The definitive Falcon for dads and kids. At 1,351 pieces, set 75257 strikes the balance: accessible multi-evening build, swooshable Technic backbone and full interior play. Retired since the end of 2024, and still a 5/5 classic.

New LEGO sets October 2026: The best picks for dads and kids
October 2026's LEGO wave in one honest guide: the 6,130-piece Executor UCS, four new Avengers: Doomsday movie tie-in sets, and LEGO's first Wednesday Addams sets.