
Filter Holder System vs Screw-In Filters: Why I Carry Both
Why a landscape photographer carries a 100mm holder kit AND a screw-in polarizer — what each is actually for, and when each one wins.
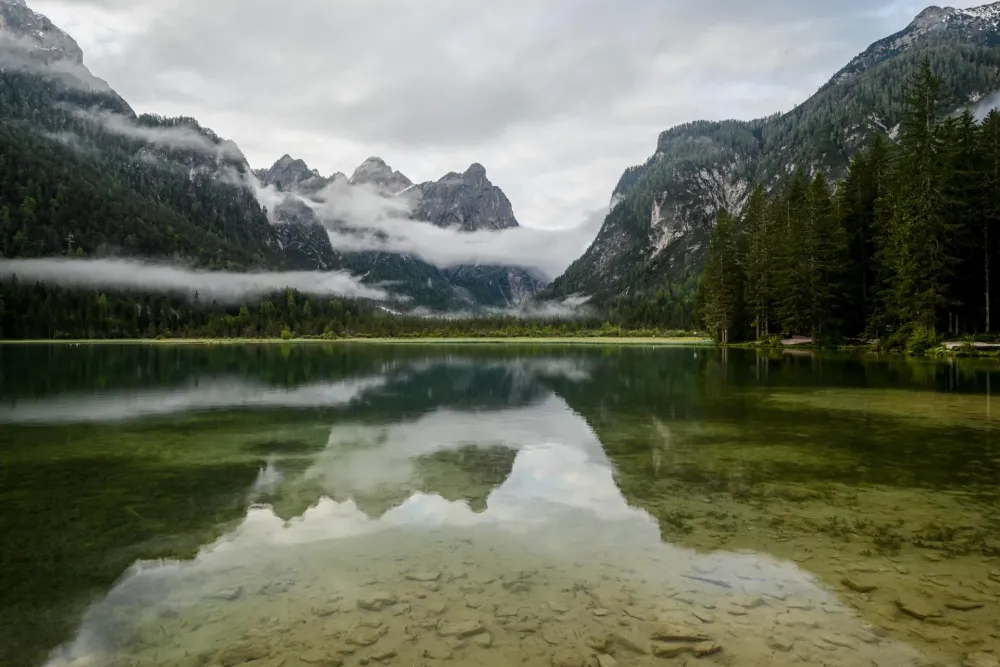
This post contains affiliate links. We may earn a commission if you make a purchase, at no extra cost to you. As an Amazon Associate, Dadnology earns from qualifying purchases.
📷 This guide is part of our Nikon Brand Hub — every Nikon Z body and lens we’ve tested, from wildlife glass to landscape and family photography kits.
Every time I post a shot with a genuinely dramatic sky — bright clouds held back, a dark foreground still full of detail — someone asks the same question: “what filter did you use?” The honest answer usually involves two completely different pieces of gear, and which one I reach for has nothing to do with which is “better.” I own a full 100mm filter holder system and a single screw-in polarizer, I’ve used both for years, and neither has replaced the other. This is why.
What a Filter Holder System Actually Is
A filter holder system is built from three parts: a thread adapter that screws onto your lens (matching whatever filter thread it has — 82mm on a lens like the Nikon Z 14-30mm f/4 S), a holder body that clips onto that adapter, and a set of rectangular or circular filters that slide into slots on the holder. Nothing threads directly onto the lens except the adapter ring itself — every filter after that mounts and dismounts by sliding, not twisting.
AdHaida Red Diamond M10 Master 7 Filter & Holder Kit (100mm) (opens in a new tab)
The holder system that has shot every dedicated landscape session for years. Seven filters in one kit — CPL, three plain NDs, three graduated NDs — mounted via a thread adapter so it works across every lens in the bag.

My kit is the Haida Red Diamond M10 Master 7-filter set: a circular polarizer, three plain neutral density filters (ND8, ND64, ND1000, covering roughly 3 to 10 stops of light reduction), and three graduated NDs (hard, medium, and reverse-graduated, all at 0.9 density). Seven filters and one holder, with thread adapters that step it down to 67mm, 72mm, 77mm, or 82mm depending on which lens is mounted. That last part matters more than it sounds — one holder kit covers every lens in the bag instead of buying a separate filter set per lens diameter.
The tempered glass and the build quality are the other reason a kit like this earns its price. A cheap holder flexes, lets light leak in around the edges of a filter, and the sliding mechanism wears loose within a season. A properly built one stays light-tight and holds a filter exactly where you slide it, which matters enormously once you’re relying on a graduated filter’s transition line sitting precisely on a horizon.
What a Screw-In Filter Actually Is
A screw-in filter is exactly what it sounds like: a circular piece of glass in a metal ring that threads directly onto the front of your lens, in whatever size matches the lens’s filter thread. No adapter, no holder body, no sliding parts. You thread it on, and depending on the filter type, you may rotate the whole ring to adjust the effect — which is exactly how a circular polarizer works.
AdHoya Circular UX II Pol Filter (82mm) (opens in a new tab)
The one that lives in a jacket pocket for the days a full holder setup is overkill. Threads on in seconds, does one job — cutting glare — better than fumbling with a holder ever would.
Mine is a Hoya Circular UX polarizer in 82mm, matching the same thread the holder adapter uses. It does one job: cut glare and reflections off wet rock, foliage, and water, and deepen a blue sky by cutting scattered light. I’ve shot Hoya polarizers for years, across every trip in this guide’s companion pieces, and never had one let me down — no color cast, no optical softening I could ever pin on the filter rather than the lens.
The One Technical Reason You’d Ever Need a Holder
This is the part that actually decides which system you need, and it comes down to one filter type: the graduated neutral density filter. A grad ND is dark on one half of the glass and clear on the other, with a soft transition zone between them, purpose-built to hold back a bright sky while leaving a darker foreground untouched — precisely the scenario a sunrise over a lake or a mountain ridge against open sky produces constantly.
If you never shoot a scene with that kind of extreme dynamic range — an evenly lit forest, an overcast day, a subject where sky brightness isn’t the problem — you may genuinely never need a graduated filter, and by extension never need a holder system at all. A screw-in polarizer and, if you want longer exposures in bright light, a screw-in plain ND filter cover everything else.
Holder vs Screw-In: The Honest Breakdown
| Factor | Holder System (Haida M10) | Screw-In Filter (Hoya) |
|---|---|---|
| Graduated ND capability | Yes — the whole reason it exists | No — physically impossible |
| Setup speed | Slower — mount adapter, clip holder, slide filter | Fast — thread on and shoot |
| Stacking multiple filters | Yes, 2-3 slots without extra bulk | Possible but adds vignetting risk |
| Bulk & weight | A dedicated pouch, noticeably heavier | Fits in a jacket pocket |
| Cost for full setup | Higher — kit covers 7 filter functions | Lower — one filter, one job |
| Cross-lens compatibility | One holder, swap thread adapters | Match thread size per lens or buy step rings |
| Best for | Dedicated sunrise/sunset sessions | Quick, everyday glare control |
Neither column wins outright — they’re solving different problems. The holder system is slower to set up precisely because it does more: three graduated options, three plain ND strengths, and a polarizer, all interchangeable. The screw-in filter is faster precisely because it does less: one filter, one job, mounted in the time it takes to say “let me just grab this real quick.”
Why I Carry Both
Here’s the actual workflow, not the theoretical one. On a dedicated landscape morning — the kind where I’ve checked sunrise time, driven somewhere specific, and I’m standing at a tripod deliberately waiting for the light — the Haida holder kit comes out. I know I’m likely shooting a bright sky against a darker foreground, I have time to mount the adapter and slide a graduated filter into place, and the extra few minutes of setup cost nothing because the whole morning was built around this one shot.
The Hoya screw-in polarizer earns its keep in every other situation. A family day out where the camera comes along but isn’t the main event. A spontaneous stop at a viewpoint that wasn’t on the plan. A scene where I just want to cut glare off a wet rock or deepen a sky without the ten extra minutes a full holder setup costs. In those moments, threading on a single filter in three seconds and getting back to actually being present with the family is worth more than the marginal image-quality gain from a graduated ND I probably don’t need for that shot anyway.
The mistake I see a lot of beginners make is buying the expensive holder kit first, because it looks like the “serious photographer” purchase, and then barely using it because most of their actual shooting doesn’t call for graduated control. The other mistake is the opposite: staying on a single screw-in polarizer forever and never understanding why your bright-sky landscape shots always either blow out the clouds or lose the foreground to shadow. Both filters solve real, different problems — the trick is matching the tool to how you’re actually shooting that day, not to what looks most serious in the bag.
Long-Term Care: What Actually Wears Out
Years of both systems living in the same bag taught me where the real wear happens, and it isn’t where beginners expect. The Haida holder’s sliding filter slots are the part to watch — grit from a bag pocket gets into the felt seals over time, and a filter that used to slide smoothly starts catching. A quick brush-out before every trip and never forcing a filter that resists sliding has kept mine light-tight for years. The glass itself, on both the graduated NDs and the polarizer, has taken far more scratches from careless wiping with a dirty cloth than from actual use in the field — a proper microfiber cloth and blowing off grit before wiping is the whole trick, and it matters more than any amount of spending on “scratch-resistant” coatings.
The Hoya screw-in polarizer has the opposite failure mode: the metal ring can seize onto the lens thread if it’s cross-threaded once in a rush, which is the one genuinely annoying way to lose a filter for a session — stuck on, impossible to remove cleanly in the field. Threading it on straight and slow, every time, costs two extra seconds and has saved me from that exact problem for years running.
Common Mistakes to Avoid
Buying a full holder kit before you’ve felt the limitation it solves. If you’ve never stood at a viewpoint frustrated that you can’t hold back a bright sky without crushing the foreground, you may not need graduated NDs yet. Start with a screw-in polarizer and let your own shooting tell you when you’ve outgrown it.
Assuming a holder kit replaces a polarizer for everyday use. It doesn’t — it’s slower to deploy, and for a quick glare-cutting shot, that speed difference is the whole point of owning a screw-in filter in the first place.
Buying mismatched thread sizes across lenses and ending up with a drawer of filters that don’t fit anything. A holder system with step-down adapters solves this once; a collection of screw-in filters in the wrong sizes solves nothing.
Pros
- Between the two systems, every real landscape scenario is covered — glare, long exposure, and extreme dynamic range
- A screw-in polarizer alone is a genuinely cheap, low-bulk first upgrade with no learning curve
- A holder kit's graduated NDs solve a problem no amount of editing fully replicates in a single RAW file
- One holder plus thread adapters covers every lens in the bag instead of a filter set per lens diameter
Cons
- Owning both means two purchases and two things to remember to pack, not one
- A holder system is genuinely slower to set up — not the tool for a spontaneous, fast-moving shot
- Graduated NDs have a real learning curve: placing the transition line takes practice to get consistently right
- The full holder kit is a meaningful cost jump over a single screw-in filter, and easy to under-use if bought too early
Conclusion: Different Tools, Not Competing Ones
A filter holder system and a screw-in filter aren’t two competing answers to the same question — they’re answers to two different questions. “How do I control a scene with extreme dynamic range between sky and foreground?” is a holder-system question, and only a holder system with graduated NDs actually answers it. “How do I quickly cut glare and deepen a sky with minimal setup?” is a screw-in-filter question, and a $30-50 polarizer answers it completely.
Most photographers who stick with landscape work long enough end up owning both, for exactly the reason I do: the holder kit for the mornings you planned around, and the screw-in filter for every other moment the camera happens to be in your hands.
The Final Word: Owning both a filter holder system and a screw-in polarizer earns a genuine 5/5 for what it’s built to do — it means you’re never carrying the wrong tool for either kind of shot.
Related Dadnology guides: How to Shoot Long Exposure Water Photography · Best Photography Spots in the Alps & Germany · Nikon Z 14-30mm f/4 S Review
Do I need a filter holder system, or is a screw-in polarizer enough?
Why can't you use a graduated ND filter without a holder?
Is a filter holder system worth the extra cost and bulk?
Can you stack multiple filters at once?
Does a polarizer work the same way in a holder kit as a screw-in filter?
What's the fastest way to start with landscape photography filters?
Keep this in your inbox
One email a week: what we actually watched, built and reviewed — the stuff worth a dad's time. No hype, no daily spam.
Dadnology Weekly
One email a week: the LEGO, gaming and movie news worth a dad's time — plus what we actually reviewed. No hype, no daily spam.
Disclaimer: This review and its visuals were created with the help of AI. Some links may be affiliate links – we may earn a commission if you make a purchase, at no extra cost to you.
You might also like
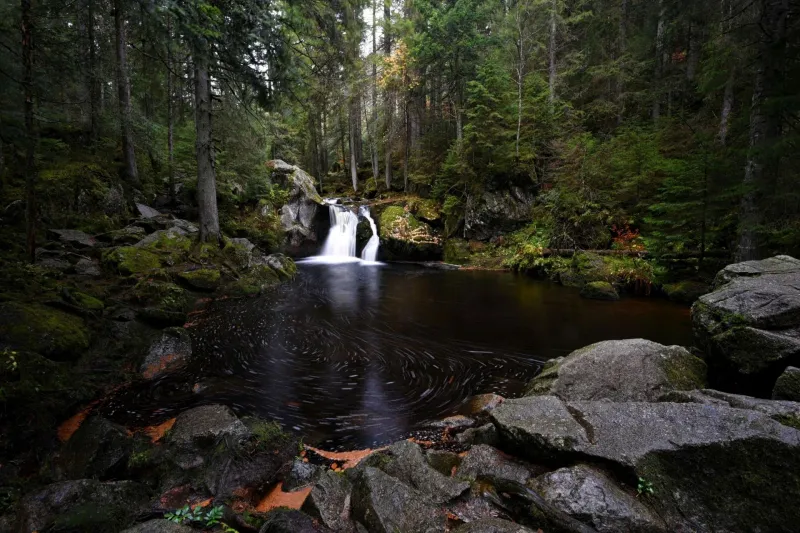
How to Shoot Long Exposure Water Photography (Real Settings)
The real camera settings behind 8 long-exposure water shots — from a 20-second glass-flat lake to a 1/15s waterfall, explained step by step.
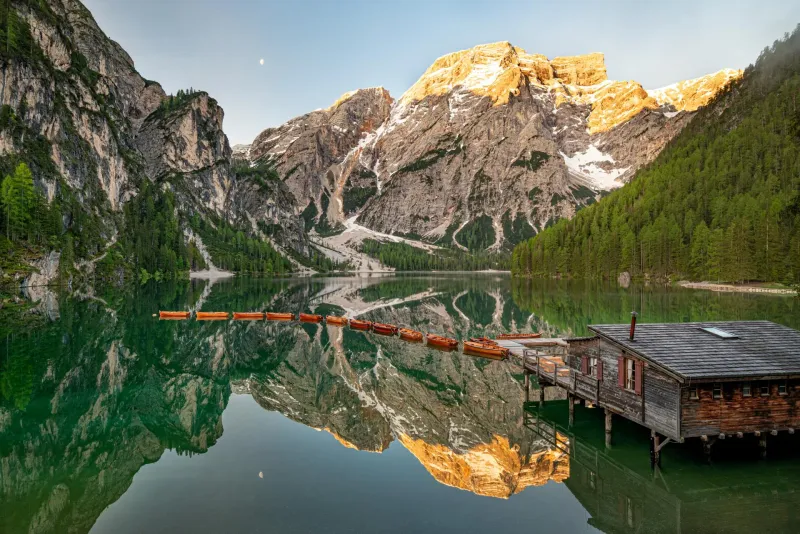
Best Photography Spots in the Alps & Germany: A US Traveler's Guide
The real photography spots worth the jet lag — Alps, Dolomites, Black Forest and the Baltic coast, shot on Nikon and grouped for a US road trip.

Nikon's New Full-Frame Camera Ditches the Viewfinder Entirely
A genuinely interesting entry-level full-frame body with a real trade-off at its center. The specs are nearly identical to the Z5 II for $300 less — you're just composing every shot on the back screen, phone-style.